
I’m currently working on a project where I will be getting a lot of squash buckets ready to hand out to our local community next month. I will be using 5 gallon buckets because squash need at least 8-12″ of space beneath it in order for its root system to develop.
I experimented with container gardening last year and I did well. I found that container gardening is easy maintenance, and especially if you have a little space to grow vegetables, flowers, and herbs. Plus, you can even move your plant around if it gets too hot or if it’s not getting enough sun.

Here is a list of what I used to make a squash bucket:
- 1 bucket (5 gallon)
- drill with a drill bit
- 1 squash plant
- 1 marigold plant
- garden soil
- peat moss
- vermiculite
- perlite
- manure or composted manure
- flower fertilizer
- large bowl (for mixing soil and amendments)
- large cup
- small watering can
- trowel
- water
- grass clippings
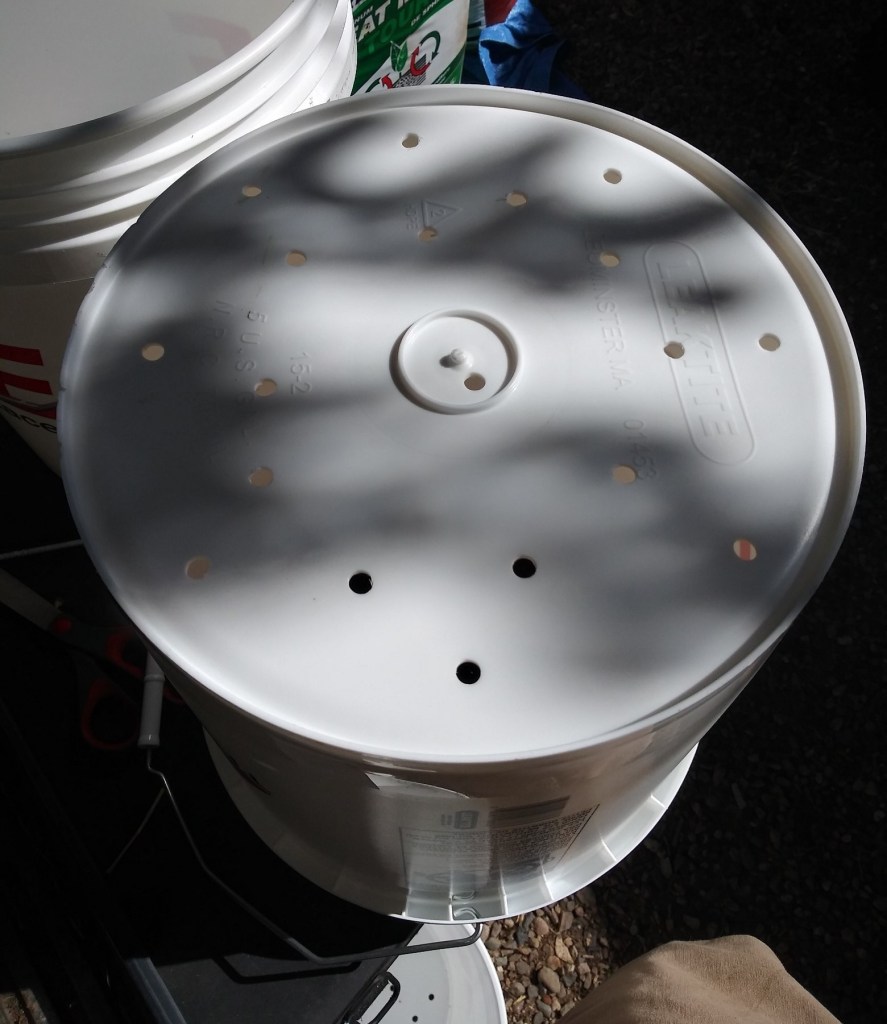
Step 1: Prep the Bucket
Drill 18-20 holes on the bottom of the bucket. The holes are needed for drainage and to prevent the squash’s root system from rotting.
Step 2: Prep the soil
Next, you will need a large mixing bowl (at least a 2 quart size). You will fill the bowl with two-thirds of garden soil and then you will fill the rest of the bowl by adding 1 part each of peat moss, perlite, and vermiculite. Next, you will add water and with your hands, mix it all together until the soil mixture is damp, but not soggy.

Step 3: Fill the bucket
Fill the bucket 3/4’s full of the soil mixture. With my mixing bowl (pictured above), I made 2 1/2 bowls of the soil mixture. But, why add peat moss, perlite, and vermiculite?
Peat moss is a partially decomposed organic matter and is used as a soil amendment because it can hold and release moisture to the plant’s roots when needed.
Perlite is a highly porous material made by super-heating volcanic glass and is used as a soil amendment to lighten the soil. Perlite also allows more air around the plant’s roots, which helps to retain water and improve drainage.
Vermiculite is a hydrated magnesium iron aluminum silicate mineral and is used as a soil additive because it’s lightweight, does not rot (it’s mold resistant), and it improves the soil structure by retaining nutrients and moisture.
Step 4: Plant the Squash & Marigold
Next, using your hands you will want to make room in the bucket to plant your squash. Before you plant your squash, take a small hand full of manure and gently mix it into the soil at the bottom of the hole where the squash will be planted. Then plant the squash and lightly press down the soil around and over the squash’s root system.

Next, you will plant the marigold. You can use a trowel to find a place to plant next (not too close) to the squash. Before you plant the marigold, you will need a sprinkle of fertilizer (for flowers) and you will mix it with the soil at the bottom of the hole where the marigold will be planted. Next, you plant the marigold and gently press down the remaining soil around and above the marigold’s root system.
Last Step: Add mulch
Next, add dried grass clippings to your squash bucket and place them around your squash and marigold. You can place your squash bucket in a spot that is mostly sunny and partially shady.
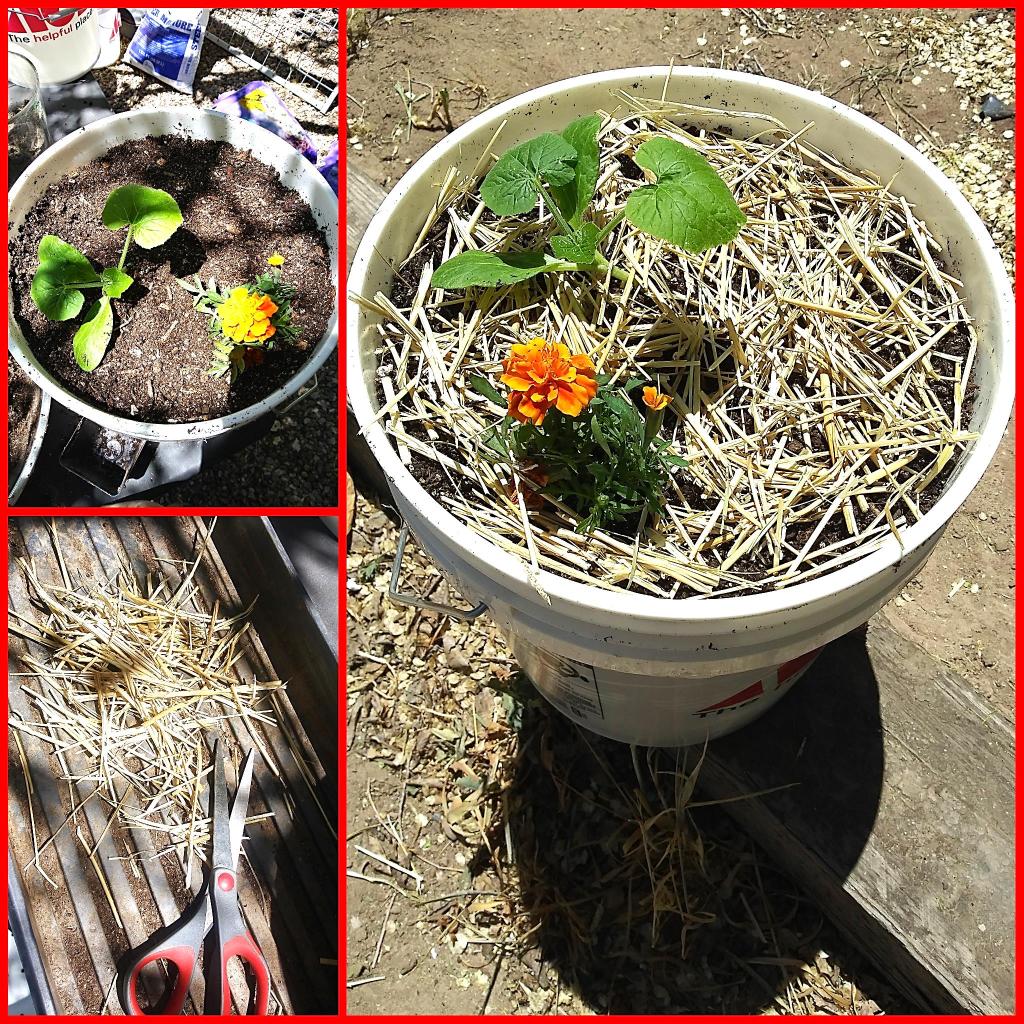
By the way, the reason why I added a marigold plant is to attract pollinators when the squash produces flowers. I used grass clippings to help the squash retain moisture and protect it from invasive plants.
Discover more from Bimá Nahalin
Subscribe to get the latest posts sent to your email.
